Camping is one of the most refreshing ways to escape the hustle and bustle of city life, reconnect with nature, and enjoy quality time with friends and family. However, one of the biggest challenges for campers—especially beginners—is setting up a tent. Traditional tents often require complex pole systems, multiple steps, and significant time, which can be frustrating after a long day of travel or hiking.
This is where outdoor inflatable camping tents come in. These innovative tents use air beams instead of traditional poles, making setup quick, easy, and stress-free. In this guide, we will walk you through a step-by-step process to set up your outdoor inflatable camping tent in minutes, while also sharing essential tips to ensure safety, comfort, and efficiency.
Why Choose an Inflatable Camping Tent?
Before diving into the setup process, it’s important to understand why inflatable tents are gaining popularity among campers:
Speedy Setup – Unlike conventional tents, inflatable tents can be fully erected in just 5–10 minutes. This is particularly useful in bad weather or low-light conditions.
Stability – Modern inflatable tents use robust air beams that provide excellent stability, even in windy conditions.
Lightweight and Portable – Without heavy metal poles, inflatable tents are easy to carry, making them ideal for hiking, festivals, or family camping trips.
Durability – High-quality inflatable tents are made from waterproof and tear-resistant materials, offering long-term reliability.
User-Friendly Design – Most inflatable tents include intuitive color-coded air valves, making setup simple for beginners and experienced campers alike.
By choosing an inflatable camping tent, you can save time, reduce effort, and enjoy more moments exploring the outdoors.
Essential Tools and Preparations
Although inflatable tents are designed for simplicity, a few preparations will ensure a smooth setup:
Clear the Ground – Choose a flat, even surface free from sharp objects, stones, or branches that might puncture the tent.
Check the Tent Components – Confirm you have all necessary items: tent body, air pump (manual or electric), stakes, guylines, and carry bag.
Inspect the Air Beams – Ensure the inflatable beams are free from holes or damage before use.
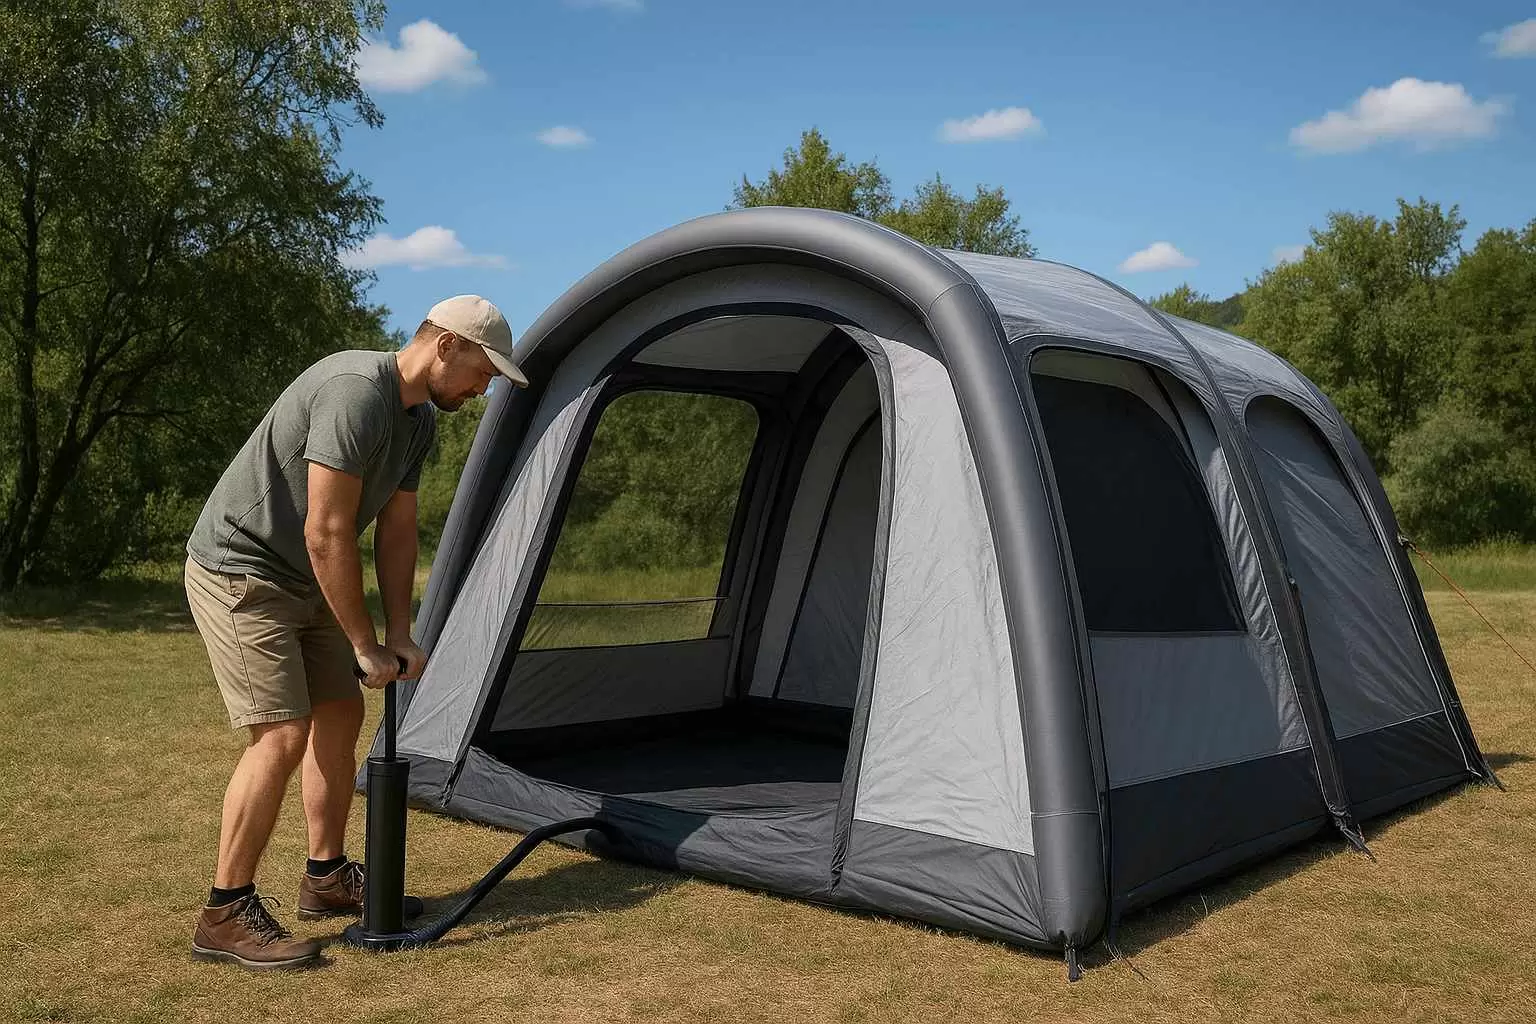
Prepare the Air Pump – For faster setup, use an electric pump compatible with your tent’s air valves. Manual pumps work fine but require more effort.
With these preparations, you’ll be ready to set up your outdoor inflatable camping tent efficiently.
Step-by-Step Guide to Setting Up Your Inflatable Camping Tent
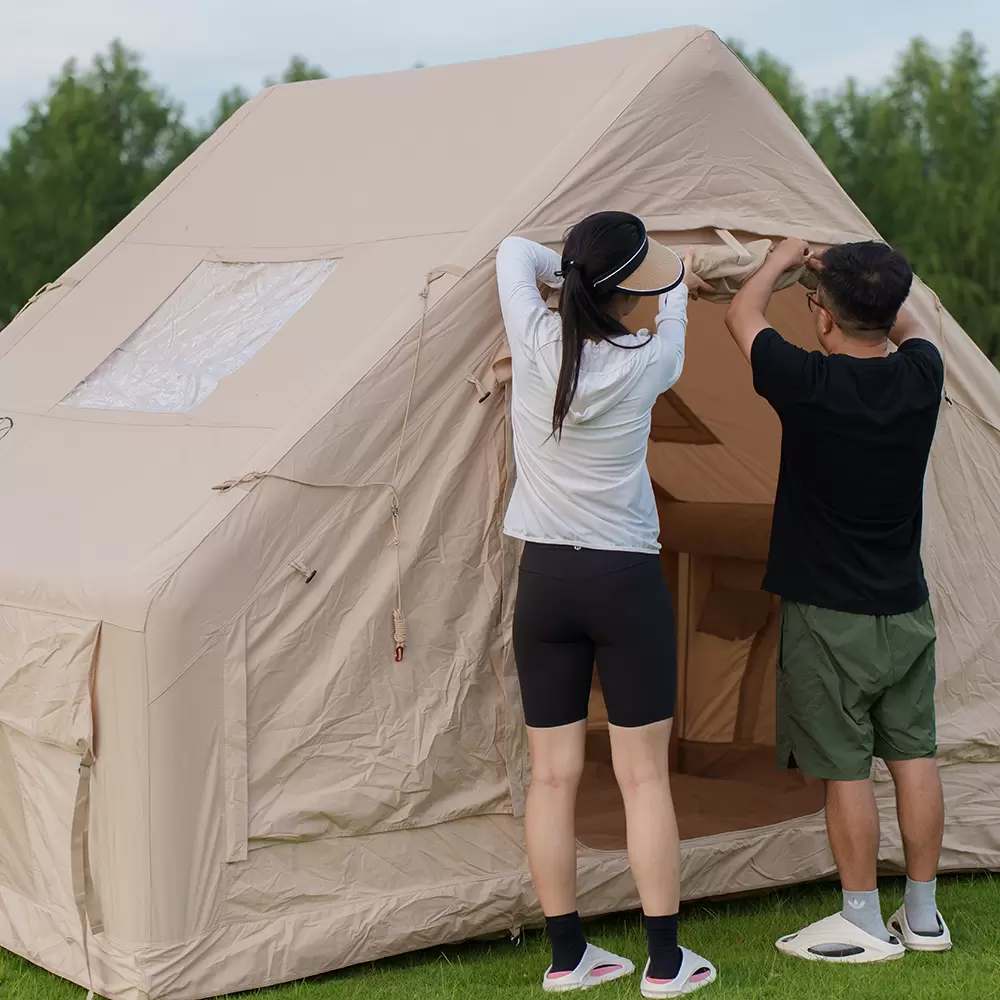
Step 1: Unpack and Lay Out the Tent
Begin by removing the tent from its carrying bag. Lay it flat on your prepared surface, with the bottom facing the ground. Unfold all sides, ensuring that the entrance is positioned where you want it. This initial arrangement prevents tangling and makes the following steps easier.
Step 2: Secure the Tent Base
Anchor the corners of the tent using stakes. Even though the air beams will provide structural support, securing the base ensures stability during inflation. If your tent includes additional guylines, attach them loosely at this stage; you can tighten them after the tent is fully inflated.
Step 3: Inflate the Air Beams
Locate the air valves on each beam and attach your pump nozzle. Begin inflating slowly, checking each beam as you go to ensure it inflates evenly. Most outdoor inflatable camping tents require inflation pressures between 3–5 PSI (check the manufacturer’s instructions). Avoid overinflation, as it may stress the seams.
Tip: If your tent has color-coded valves, follow them to simplify the process. Inflate beams in sequence, usually starting with the main structural frame.
Step 4: Shape and Adjust
Once fully inflated, the tent will start to take shape. Gently push out any creases in the fabric and ensure all beams are upright and evenly tensioned. Walk around the tent and check for uneven areas. Adjust stakes and guylines if necessary to stabilize the structure further.
Step 5: Secure Guylines and Stakes
After inflation, tighten all guylines and ensure stakes are firmly driven into the ground. This step is crucial for windy conditions and helps maintain the tent’s shape. Properly secured guylines prevent the tent from swaying and reduce the risk of damage.
Step 6: Install the Interior Accessories
Many inflatable tents come with interior features like dividers, storage pockets, or inflatable beds. Set up these accessories after the main structure is complete. For multi-room tents, follow the manufacturer’s guide to partition each room effectively.
Tips for Quick and Efficient Setup
Practice Before Your Trip – Set up the tent once at home or in your backyard. Familiarity with the process speeds up setup during actual camping.
Keep the Pump Handy – Position the air pump close to the tent to avoid dragging hoses across sharp surfaces.
Monitor Weather Conditions – Inflate and anchor your tent before a storm or high winds to prevent damage.
Use a Groundsheet – Protect the tent floor by laying a waterproof groundsheet underneath. This reduces wear and adds comfort.
Pack Smartly – Store the pump, stakes, and tent in an organized bag to avoid misplacing essential components.
Common Mistakes to Avoid
Even with inflatable tents, campers sometimes make setup errors. Here are the most common ones:
Overinflating Beams – Excessive pressure can burst seams. Always follow manufacturer’s PSI guidelines.
Ignoring Uneven Ground – Inflating on rocks or roots may puncture the tent. Always clear the surface.
Skipping Stake Use – Failing to anchor the tent increases risk during strong winds.
Improper Storage – Folding the tent while wet may cause mold or mildew. Dry it fully before packing.
Avoiding these mistakes ensures your tent remains functional for many camping trips.
Advantages of Inflatable Tents for Outdoor Adventures
Time Efficiency – You can go from suitcase to fully assembled tent in under 10 minutes.
User-Friendly – No poles, hammers, or complicated instructions. Even beginners can manage it.
Comfort and Space – Inflatable tents often offer larger interiors with flexible configurations.
Durability – High-quality materials withstand wind, rain, and UV exposure better than conventional tents.
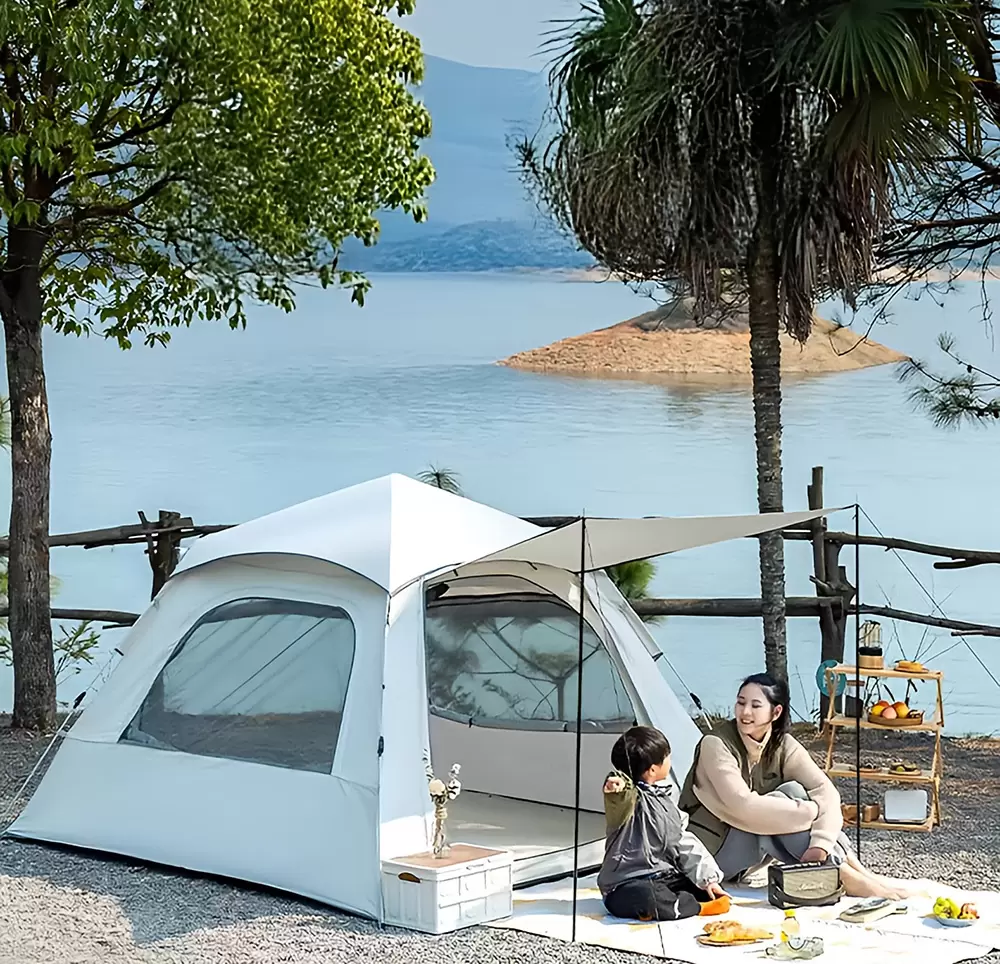
Versatility – Suitable for family camping, music festivals, hiking base camps, and even beach outings.
Conclusion
Setting up an outdoor inflatable camping tent is no longer a tedious task. With careful preparation, proper inflation, and strategic anchoring, you can have a secure, comfortable tent ready in just minutes. Inflatable tents combine speed, durability, and user-friendly design, making them ideal for both novice and seasoned campers.
By following the steps outlined in this guide—laying out the tent, inflating air beams, securing stakes, and arranging interior accessories—you can maximize convenience and enjoy your outdoor adventure with minimal hassle. Whether you’re camping in the mountains, by the beach, or at a music festival, your inflatable camping tent ensures that setting up camp is as enjoyable as the camping experience itself.
Haojin, as a professional outdoor inflatable camping tent supplier, is dedicated to providing high-quality, durable, and easy-to-use inflatable tents for campers of all levels. With a focus on innovative design and user-friendly setup, Haojin tents allow you to enjoy a secure and comfortable camping experience in minutes. Whether for family trips, hiking adventures, or festival outings, our inflatable tents combine stability, portability, and quick setup features, ensuring that you spend less time struggling with poles and more time exploring the outdoors. Trust Haojin for reliable camping solutions that make every adventure hassle-free.